Sunday, February 22, 2015

Basic Grey - Herbs and Honey - Friends Mini Album


Hello,

Where would we be without our friends? Do you have someone special you would like to create a mini album for?

Basic Grey - Herbs and Honey range has a really versatile range of embellishments included in the Element Stickers, Title Stickers, Die Cuts and Transparencies and the 12x12 sheet named Artichoke.

My project for today is a mini Album celebrating 'Friends'.


Gather all your supplies - I sorted through the Stickers and Die cuts etc and selected all the 'friend' related embellishments.


The papers I selected were:  Peas, Asparagus, Onion and Corn.

Cut the papers and covers to your required size, then cover the covers with co-ordinating paper.  I designed and embellished my front cover next, using some of the embellishments and Tim Holtz Alterations Bigz Die - Garden Greens.  The wording is cut using Tim Holtz Alterations - Wanted Alphabet and then covered with glossy accents. I added Distress Stickles - Mustard Seed to the leaves.

Next, place your pages in order and bind using your Zutter.  The next step is to decorate/embellish your pages.   I have kept the pages really simple with the idea in mind of adding a photograph to every page.  When I adhered the larger rectangular shaped embellishments - I adhered them by only three sides - to be able to place corners of photographs underneath if required. I rounded the top corners of the pages using my WRMK Corner Chomper and then highlighted this by 'stitching' with a black marker - just a bit of added detail.


Lastly, add any ribbons, rhinestones and any other final touches you would like, and


Friends, you and me - we make the 'pearfect pear'.

Products used to create the Friends Album are:


  • Basic Grey - Herbs and Honey - Peas, Asparagus, Onion, Corn and Artichoke 12x12 papers
  • Basic Grey - Herbs and Honey - Element Stickers
  • Basic Grey - Herbs and Honey - Die Cut Transparencies
  • Basic Grey - Herbs and Honey - Title Stickers
  • Tim Holtz - Alterations Bigz Die - Garden Greens
  • Tim Holtz - Alterations - Wanted Alphabet Die
  • Glossy Accents
  • Distress Stickles - Mustard Seed
  • 12x12 co-ordinating paper to cover album
  • Black card for lettering on cover
  • Ribbon, rhinestones, clear gel pen
  • Zutter and o'wire
  • WRMK Corner Chomper

See you again soon friend,
Shell
xox


Carta Bella - Christmas Time - Surprise Box...


Hello,

Surprise!!   Today I have a Surprise Box to share with you.  These boxes are a fantastic gift idea - you can add photos to the inside (and the outside if you wish!) before you gift them or the recipient can add their photos after...


Gorgeous isn't it? It looks just like a present... keep reading and you will see the surprise inside!

I have chosen paper from the Carta Bella Christmas Time range, this particular one is named Red Ornaments which I have teamed up with Green Cardstock and Brushed Silver card.


First step is to cut your box base and lid. Then cut 9 pieces of the brushed silver and the paper to size. (5 for the outside and lid, and 4 for the inside).


Adhere your pieces into position, adding ribbon, brads and rhinestones where desired.  Now, for the inside surprise...  I created 3 little presents for the inside of my surprise box, using the same card, silver card and paper as the base.
Cute, huh!


 Underneath the presents, I used a piece of the brushed silver card and added a punched paper corner in each corner, highlighted with rhinestones.


Lastly, the lid...


I continued the ribbon up over the sides of the lid and created a large bow to sit on the top.
Using red and silver embossing powder, I heat embossed 2 ornaments and attached these on top with a finer silver and red ribbon.  I also added a tiny tag featuring the word 'merry' embossed in red.

 Another view of the inside, including the lid.


Products used:


  • Carta Bella Christmas Time - Red Ornaments paper
  • Stampin' Up Green and Brushed Silver Card
  • Ribbon, brads, rhinestones
  • Red, silver embossing powder
  • Hero Arts Decorative Ornament stamp
  • EK Success corner punch
  • Stampin' Up Pennant Parade stamp
  • Stampin' Up Tag Punch
Please leave a comment letting me know what you think of my surprise box!
Until next time
Shell
xox


Basic Grey - Herbs and Honey - Gardeners Diary


Hi,

Bloom where you are planted, plant kindness and gather love, growing like a weed, the cream of the crop.... These are some of the verses from the embellishments from the gorgeous Basic Grey - Herbs and Honey range.  So, how could I not be inspired to create a Gardeners Diary after seeing these?!?


I must warn you - I don't have a green thumb - every plant I touch generally dies - but I have found out... you actually need to water plants to make them grow! Haha - who would have thought it??

Now onto the Diary - choose your papers first:  Basic Grey - Herbs and Honey - Peas, Asparagus, Onion, Corn and Artichoke.


Then, sort through the embellishments in the range - Element Stickers, Dies and Transparencies and Title Stickers as well as from the Artichoke 12x12 and decide which you would like to use.


I then 'planned' my diary - decided what I would like to include:
A calendar, moon phases charts, a garden design layout and irrigation layout, a rainfall chart, a list of purchased plants, a record of what was planted on which date, places to add photos...


I handstamped the calendar making sure I stamped the right number of days for each month... 30 days have September....
I created word documents for the other features (except for the moon phases - cut and paste that one from Google - thanks Google!), stamped and printed all of these on some patterned copy paper which I was given from somewhere - it's amazing what you find in your stash sometimes! Cut these to size and mounted them on green cardstock.


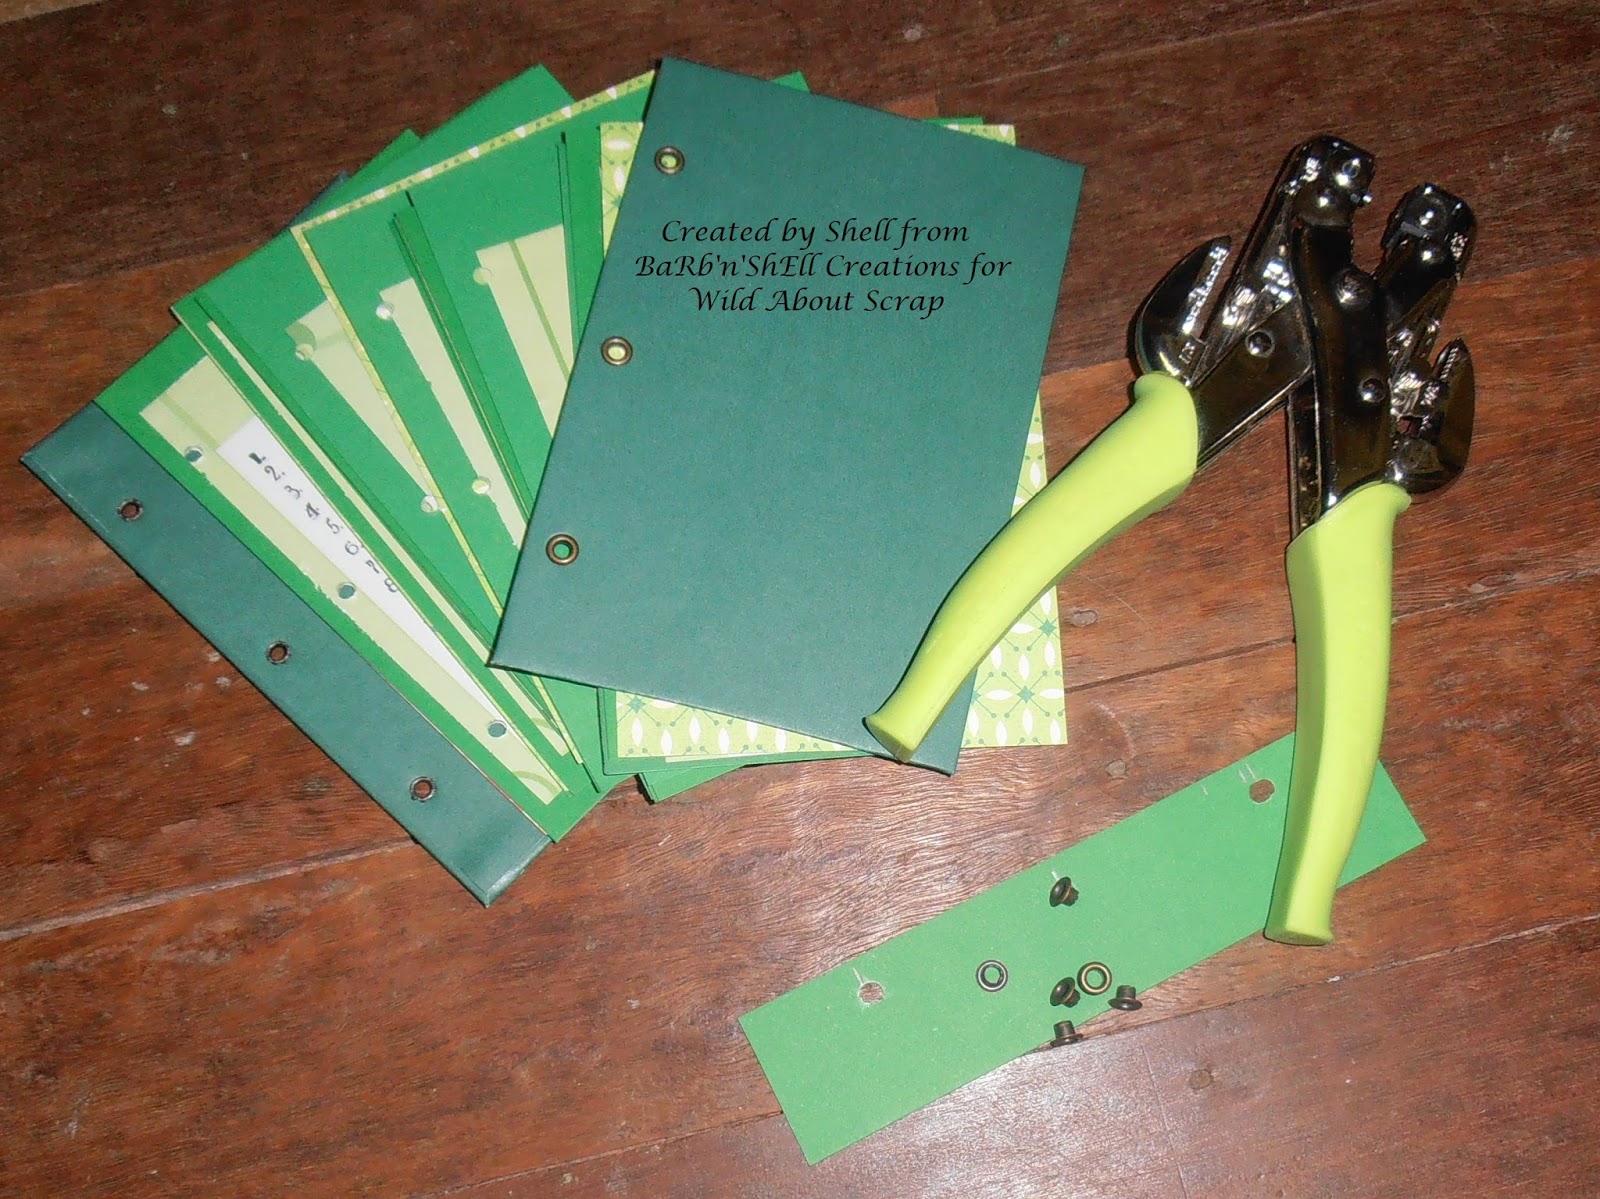
Next, I cut my Basic Grey - Herbs and Honey pages to size, created a cover and covered this with green paper. I then bound these using my Crop-a-dile to punch three holes for rings. I added eyelets to the holes in the covers for added stability.

Now, backtrack a bit - when I was planning my Diary, I originally thought I would create tabbed sections for each month, but as I went along I decided to do it differently... So, now in the front section (each section is divided by the Herbs and Honey papers) I placed the information feature pages eg. garden design layout etc, then, in every other divided section I have placed 2 months i.e. January and February and a moon phase chart for each month. I also decided to bind the book with rings in case the Diary owner would like to change the order of the pages, add more pages, add more photo opportunities etc etc.


Did you have a close look at the above photo (Right hand top) at the Garden layout photo - I used a sheet of acetate for the irrigation layout over the top - so you can see where the plants are and design your irrigation over the top... Clever Huh?!?


There are plenty of photo opportunities in the diary - every divider (except the inside front cover) has space to add photos on the front of the dividers and I have left the back blank to add your beautiful garden photos or photos of other gardens you are inspired by.
I rounded the corners of each paper section to make it easier to find the next section using my Corner Chomper.


Design your embellishments for the front and back covers - I have kept mine fairly simple.

Products used to create the Gardeners Diary:


  • Basic Grey - Herbs and Honey - Peas, Asparagus, Onion, Corn and Artichoke 12x12 papers
  • Basic Grey - Herbs and Honey - Element Stickers
  • Basic Grey - Herbs and Honey - Die Cuts and Transparencies
  • Basic Grey - Herbs and Honey - Title Stickers
  • Tim Holtz Alterations - Frameworks Honeycomb Die
  • Tim Holtz Alterations - Typeset Lettering Die
  • Glossy Accents
  • Thick card for the covers
  • Green cardstock for the pages and green paper for the covers
  • Camel coloured cardstock for the lettering and the honeycomb die
  • Green copy paper for printing feature pages
  • Rings and eyelets for binding
  • Ribbons, rhinestones
  • WRMK Crop-a-dile and Corner Chomper
  • Darkroom Door Essentials 1 Collection - Calendar
  • Black ink for stamping
  • Computer and printer to create feature pages

I would like to say I was off to do a spot of gardening, but now my thumbs really are black -  from stamping!!!

Bloom where you are planted!
Shell
xox


Monday, December 29, 2014

My Mind's Eye - Sleigh Bells Ring - Branches Christmas Card


Hello,

I have an obsession with owls... so as soon as I saw these Branches from My Mind's Eye - Sleigh Bells Ring paper range - I knew I needed to have an owl sitting in them!

Tuesday, December 23, 2014

Simple Stories - Stationery Gift Pack...


Hi there,

Hope you are well into creating your Christmas goodies!!  I have a great little pack that can be used for Teacher Gifts, gifts for friends, family, students and colleagues.....

And we all love stationery don't we?????    I think I am an addict!

Green, red, gold, poinsettia flowers - could you get any Christmasier?? (Is that a word?)


Thursday, December 18, 2014

Tim Holtz - Assembly Snowman - Square Christmas Card...

Hello,

I absolutely love snow, but where we live in sunny Northern Australia, sad to say, there is no such thing!  Anyhow, while dreaming of holidays in the snow, I have created this card to share with you...


Sunday, December 14, 2014

My Mind's Eye - Sleigh Bells Ring - Reindeer - Card in a Box...


Hello,

Today I have used some gorgeous paper from My Mind's Eye - Sleigh Bell's Ring - Reindeer...
Teamed up with some fabulous chipboard from Dusty Attic - I have created a Card in a Box.


Tuesday, November 25, 2014

Daydream with Prima Epiphany Ephemera.


Hi Guys,

Karen here with you again today. I wanted to share with you a tag that I made using one of the fantastic new Prima Ephemera packs.

Prima - Epiphany - Ephemera - Click Image to Close

Tuesday, November 18, 2014

Basic Grey - Herbs and Honey - Recipe Box


Hello,

I like to think outside the box - hehe - inside joke because today I have created a 'box' for you.  A Recipe Box - featuring the gorgeous papers and embellishments from Basic Grey - Herbs and Honey range.

Friday, November 14, 2014

Worn Christmas Cover

It's November, and you know what that means.. the Countdown to Christmas is on.
Christmas is my very favourite time of the year. There is just something truly magical about Christmas.  Even though for me,  Christmas is normally spent at the beach, I would one day love to have a cold Christmas, or even better a White Christmas. Until then I will just have to make do with the gorgeous Christmas lines that are available..
 
Today I've got just the outside of my Christmas Journal to share with you. I am actually organised this year and have it finished before December.! ( well the cover anyway!) There are so many options and choices of gorgeous Christmas lines out right now.. Í have of course gone with Vintage Christmas and some gorgeous Tim Holtz lines..

Thursday, November 13, 2014

7 Cards from One 12x12 Sheet


Hello,

I have been very productive with one sheet of paper! I created 7 cards....  I have seen other clever crafty people create more than 7 cards from one sheet - but I set myself a challenge - if I created an easel card and a square card, how many more cards (with decent sized pieces of the paper) could I make from this gorgeous sheet of paper from Basic Grey - Herbs and Honey range - "Radish" 


The top two pieces on the left are the easel card, the middle piece on the right is the square card, bottom left is a regular sized card and I created 4 other cards using the other pieces.

Wednesday, November 12, 2014

Fit For a Princess!


Hi everyone, it's Sue Plumb here with you today sharing my latest creation.

I recently found this gorgeous photo of my daughter and her best friend that was begging to be scrapped, and I knew I needed some beautiful soft, feminine papers to do the job. And who does those papers better than anyone? Prima of course! So I rifled through my stash and found some papers from the Prima Princess collection, which were perfect for creating this project...

Wednesday, November 5, 2014

Prima Epiphany Collection..

Hi Guys.. Karen here with you again today.. I have to say I fell in love instantly with the new Prima Epiphany Collection.. it's a gorgeous collection full of girly grungy vintage goodness!
 
Some of the papers are just stunning.. so I chose a couple to make a very quick mixed media tag.. I teamed it with some sequins from the Prima  Epiphany Ephemera pack, a bit of Tim Holtz jute string , Remnant Rubs and some glass glitter, beads and matte gel.
 

Friday, October 24, 2014

Basic Grey - Herbs and Honey - Recipe Book


Hello,

Recipe Books.... mmmm... I am sure I have at least 10! How many do you have and do you use them regularly or are you like me and always refer to the same basic meals from a variety of books?

Here is a way to keep all your favourites in the same book and of course there is plenty of space to add your new favourites as you collect them!


Tuesday, October 21, 2014

Coutdown to Halloween..


Hi Everyone!  Karen here with you again today, for me the middle of September is a marker for a lot of upcoming things, birthdays, Halloween and of course Christmas.

Even though we are not big on the whole Halloween thing here in Australia, I absolutely love Halloween, and am happy for any excuse to get a little bit spooky!

So with that I mind I have a Halloween tag to share with you today, using of course you guessed it, some of my favourite spooky Tim Holtz bits and bobs!