What is Scrapbooking? lol don't laugh, seems a lot of people don't know, hard to believe as Scrapbooking has been a favourite past time of many for years! I get asked a lot lately what is it you actually do with your photos! Scrapbooking is preserving your personal and family photos in a book, adding memorabilia, embellishments and journalling. Some people include stories or scrap by theme, like holidays, special events, family firsts etc. It's quite simple really, it is about getting your photos out of drawers and boxes and into albums for all to see. Now I really should start putting my pages into albums :)
I have lots of photos of my little princess and her Shetland pony but I think this one is adorable! They have a special bond and spend a lot of time just casually walking around, Shawnee grazing while my girl chats away! It's like they understand each other.
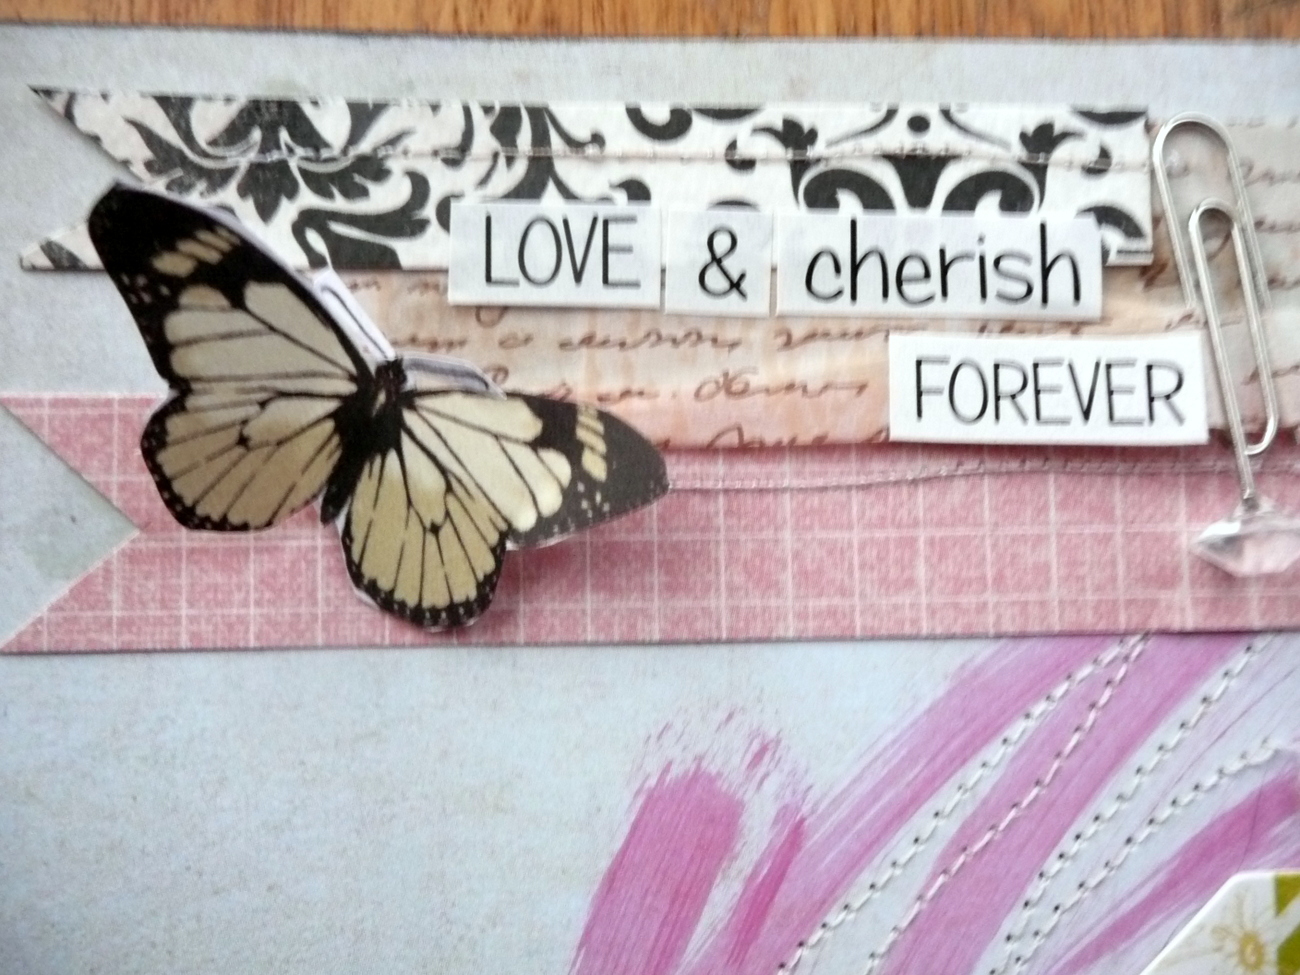
Using the gorgeous range from FabScraps, which is just beautiful with its fun designs which arrived in my latest kit from Wild About Scrap, the best online Scrapbooking store! I hope you are inspired by my layout.

Project Products Used:
FabScraps - Little Peeps - Sweet Pea
Coredinations - Pastels Cardstock
MS Punch border - Vintage Floral
Petaloo - Mixed Textured Blossoms
Petaloo - Mini Pearl Daisies
Green Tara - Blossoms
Tattered Angles Glimmer Glam - Grand Tetons
Donna Salazar Chox - Sparrow & Petals
Dusty Attic - Picket Fence
Girls Paperie - Pennant Pins
Hessian
Instructions:
1. Using Fabscraps Sweetpea cut a small strip from two sides, just enough to allow the bazill cardstock to form a border or frame. Distress all four edges and then lightly ink with Donna Salazar Mix'd Media INX Chox, I used Petals.
2. Take a 6x6 piece of Coredinations Pastel cardstock and emboss and punch one side with MS Vintage Floral, sand gently using a distressing tool. Wash with a light coat of TA Glimmer Glam, lightly ink edges and mount your photo.

3. Arrange a floral cluster with your flower blossoms and other embellishments, add some twine. I added some hessian to give some texture.
4. Paint your chipboard with a good gesso coating before inking with DS Chox. I allowed some of the gesso to show through on the fence to add an age worn look.

5. Add a small cluster of flower blossoms and embellies to top corner. I used a chipboard heart, blossoms and vintage key charm.
6. Place chipboard letters over an old dictionary torn paper page using a little piece of hessian for more texture.
7. Complete and now ready for a frame or album :)
TIP: I like to first lay everything out and when I am happy with the placement of everything I will start to glue it all together, taking a photo so you can refer to it also helps!
Thanks for stopping by!
Sue xx
I have lots of photos of my little princess and her Shetland pony but I think this one is adorable! They have a special bond and spend a lot of time just casually walking around, Shawnee grazing while my girl chats away! It's like they understand each other.
Using the gorgeous range from FabScraps, which is just beautiful with its fun designs which arrived in my latest kit from Wild About Scrap, the best online Scrapbooking store! I hope you are inspired by my layout.

FabScraps - Little Peeps - Sweet Pea
Coredinations - Pastels Cardstock
MS Punch border - Vintage Floral
Petaloo - Mixed Textured Blossoms
Petaloo - Mini Pearl Daisies
Green Tara - Blossoms
Tattered Angles Glimmer Glam - Grand Tetons
Donna Salazar Chox - Sparrow & Petals
Dusty Attic - Picket Fence
Girls Paperie - Pennant Pins
Hessian
Instructions:
1. Using Fabscraps Sweetpea cut a small strip from two sides, just enough to allow the bazill cardstock to form a border or frame. Distress all four edges and then lightly ink with Donna Salazar Mix'd Media INX Chox, I used Petals.
2. Take a 6x6 piece of Coredinations Pastel cardstock and emboss and punch one side with MS Vintage Floral, sand gently using a distressing tool. Wash with a light coat of TA Glimmer Glam, lightly ink edges and mount your photo.

4. Paint your chipboard with a good gesso coating before inking with DS Chox. I allowed some of the gesso to show through on the fence to add an age worn look.

6. Place chipboard letters over an old dictionary torn paper page using a little piece of hessian for more texture.
7. Complete and now ready for a frame or album :)
TIP: I like to first lay everything out and when I am happy with the placement of everything I will start to glue it all together, taking a photo so you can refer to it also helps!
Thanks for stopping by!
Sue xx