

Hello
Back again with another Dusty Attic Off the Page Project to show you - this time I have made the Mini Tool Caddy.... Go and get a cuppa as I have a few photos to show you....


.JPG)
I measured and cut out the panels for the sides and ends which I then distressed with my distressing tool and lightly inked the edges with black ink.
 I then die cut some flowers, leaves, flourishes and chose the cogs etc that I would need - I created all four panels slightly different - flower centred on one panel, to the right on the other large panel and placed the cogs strategically over the hearts on the end panels.
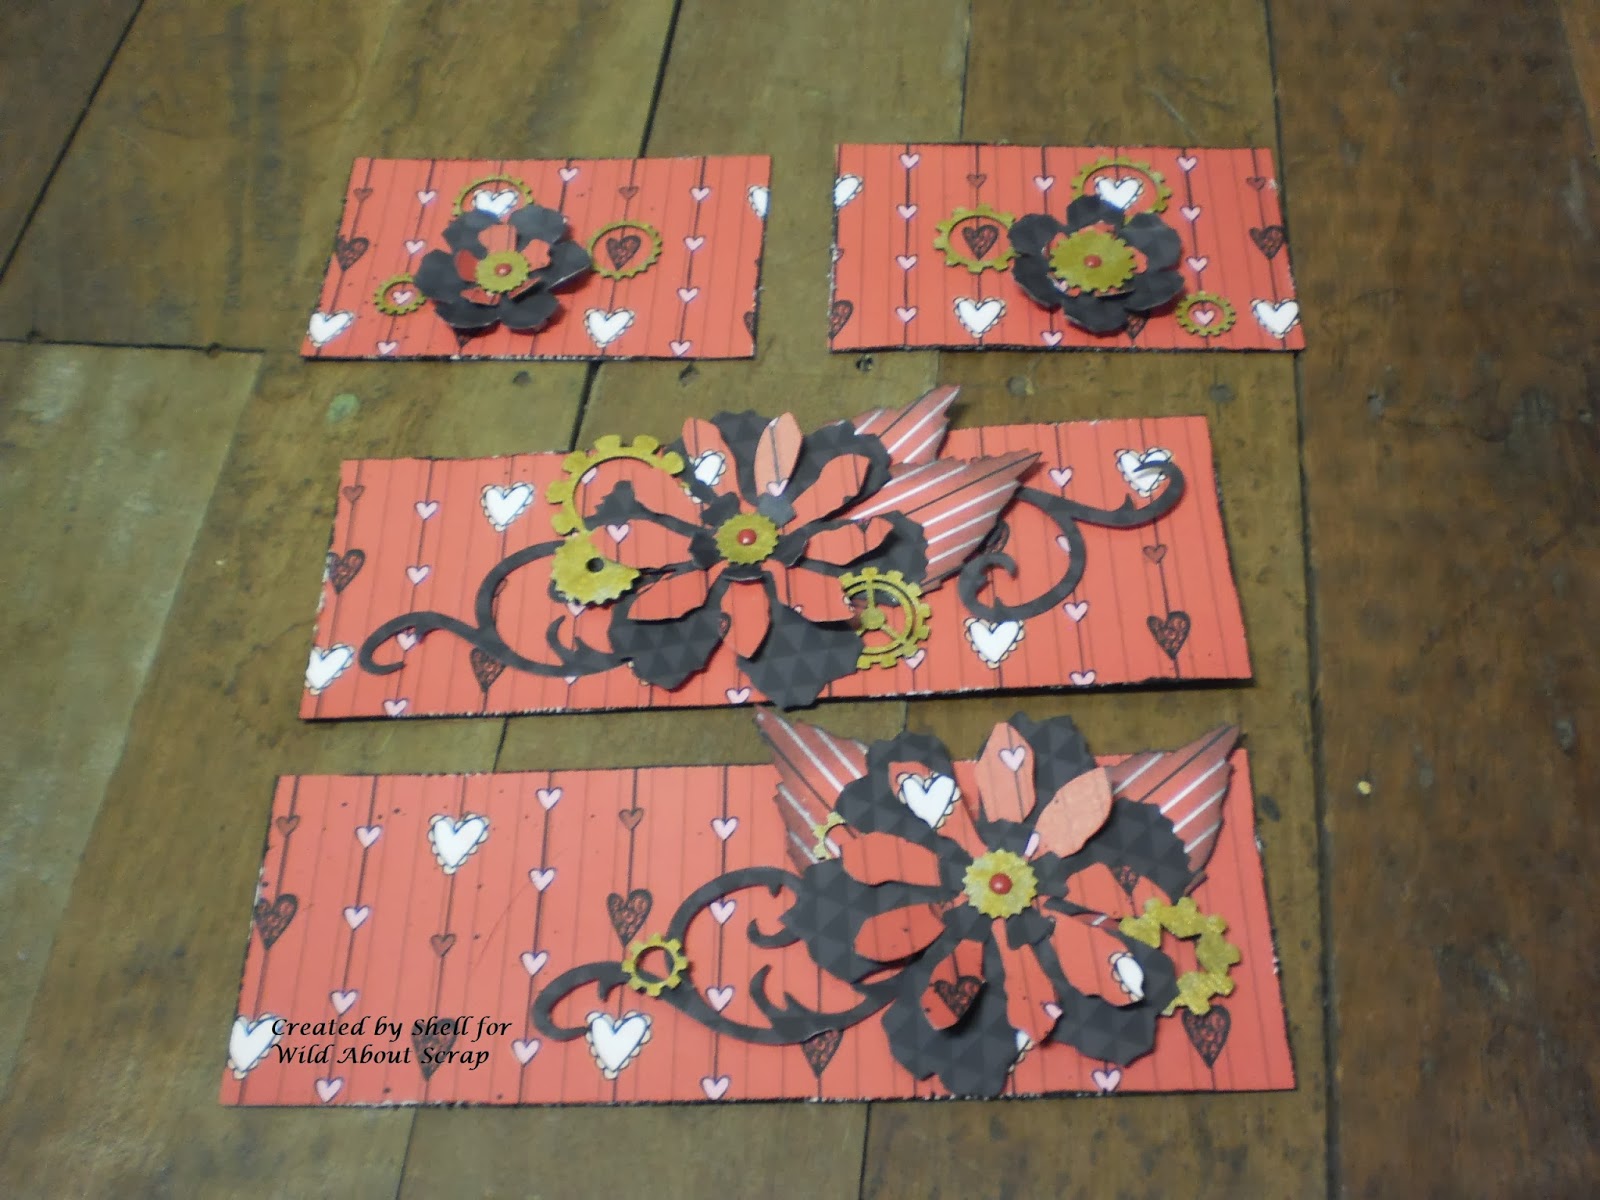
 These are the four panels laid out, all taped on the back with high tack tape.... waiting for the second coat of paint to dry...
A closer view of the two larger panels. I added more embellishments to the panels after I had secured them to the caddy.

.JPG)
Back again with another Dusty Attic Off the Page Project to show you - this time I have made the Mini Tool Caddy.... Go and get a cuppa as I have a few photos to show you....
There were no instructions or even a picture included with the tool caddy, but it was quite easy to assemble - I used a craft glue that is suitable for joining wood.
The products I chose for this project were mainly Bo Bunny and Tim Holtz products. The papers were from the Bo Bunny range Head over Heels. The photo shows two sides of "Head Over Heels" and one side of "Boyfriend" and the Tim Holtz Bigz dies - Tattered Florals, Tattered Leaves and Elegant Flourishes. Also in the photo are some chipboard cogs - these are from the Make it Crafty range - Wild About Scrap has an assortment from Dusty Attic which would work just as well.
First I painted the Tool Caddy with a black acrylic paint and as this was drying, I started preparing my embellishments. (I ended up giving the caddy a second coat of paint)
I measured and cut out the panels for the sides and ends which I then distressed with my distressing tool and lightly inked the edges with black ink.
I then die cut some flowers, leaves, flourishes and chose the cogs etc that I would need - I created all four panels slightly different - flower centred on one panel, to the right on the other large panel and placed the cogs strategically over the hearts on the end panels.
Tip: As you design each panel or layout or card - take a photo before you dismantle it to glue / paint / join your pieces etc - so you remember what it looks like.
A closer view of the two larger panels. I added more embellishments to the panels after I had secured them to the caddy.


The two ends of the caddy. I painted the cogs using Distress Paint - Tarnished Brass. On the larger side panels - I lightly sponged the leaves with black ink. After adding the panels to the caddy I added rhinestones and added a touch of sparkle with Distress Stickles - Tea Dye to the flowers.
You can just see on the inside of the tool caddy I added a row of 5 rhinestones on both sides of the handle matching the curved shape of the handle.
Red and black are always really striking colours to work with especially if you have painted your base product with black. I have used these colours on a lot of my Off the Page Storage Products for my Craft Room.
The Products and tools etc I used for this project are:
- Dusty Attic Mini Tool Caddy
- Bo Bunny - Head Over Heels - Head Over Heels 12 x 12 paper
- Bo Bunny - Head Over Heels - Boyfriend 12 x 12 paper
- Tim Holtz Bigz Die - Tattered Florals
- Tim Holtz Bigz Die - Tattered Leaves
- Tim Holtz Bigz Die - Elegant Flourishes
- Distress Paint - Tarnished Brass
- Distress Stickles - Tea Dye
- Chipboard Cogs
- Black Acrylic Paint with paintbrush
- Adhesives - Craft Glue, Mounting Tape and High Tack Tape
- Black Ink and a sponge
- Ruler, Scissors, Guillotene, Distressing Tool
- Brads and Rhinestones
All of these products are available from Wild About Scrap.
Hope you have enjoyed seeing my Dusty Attic Mini Tool Caddy..... Hmmm what to put in here???
Until next time
Shell
xox
No comments:
Post a Comment