

Hi Everyone - Karen here with you today.
I want to share with you a few little things that I have found out while playing with my Tim Holtz Distress Marker Spritzer.
Now this thing is some serious fun to play with, but I found a couple of little things that are really important when you are using it.

The first one is to make sure that you have your marker tip extended a decent distance past the air hole on the spritzer. If it's not far enough you wont see any colour on your project - not matter how much you squeeze the bulb on the end.. I found this out the hard way...
This is how far I extend mine past the tip on the end, sometimes even a little further,

The next thing that is important to know is the difference in the closeness to the paper, and the how gently and the speed which you squeeze the air chamber at the end.
The picture below shows you the difference - you get a more spread out speckled effect when you have the marker further away from the paper, and use a gentle and slower pressure when squeezing the air chamber.
Whereas you get a far more concentrated effect when the marker tip is closer to the paper and you squeeze the air chamber faster and with more pressure.

Here I have used several green colours with a stamped image, after I finished spritzing the markers I sprayed the Distress water colour cardstock with a light mist of water, this blended the colours really well. I then fussy cut the pear and stuck in onto another piece of distress water colour card ready to use on a project.
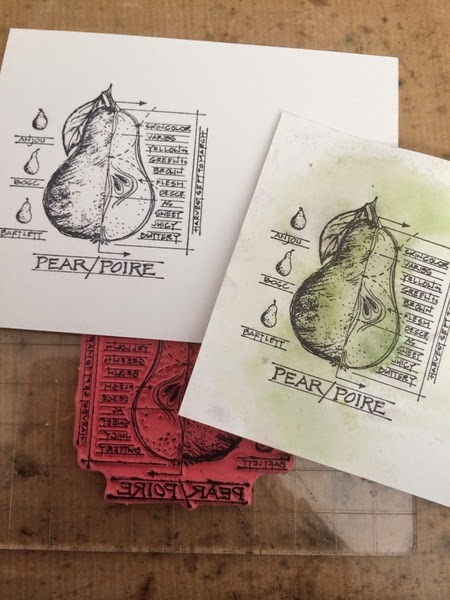

The colours I used were:
I hope this has given you a little bit more info about the distress marker spritzers. Thanks for stoping by, hope to see you again soon.
Karen xx
No comments:
Post a Comment